
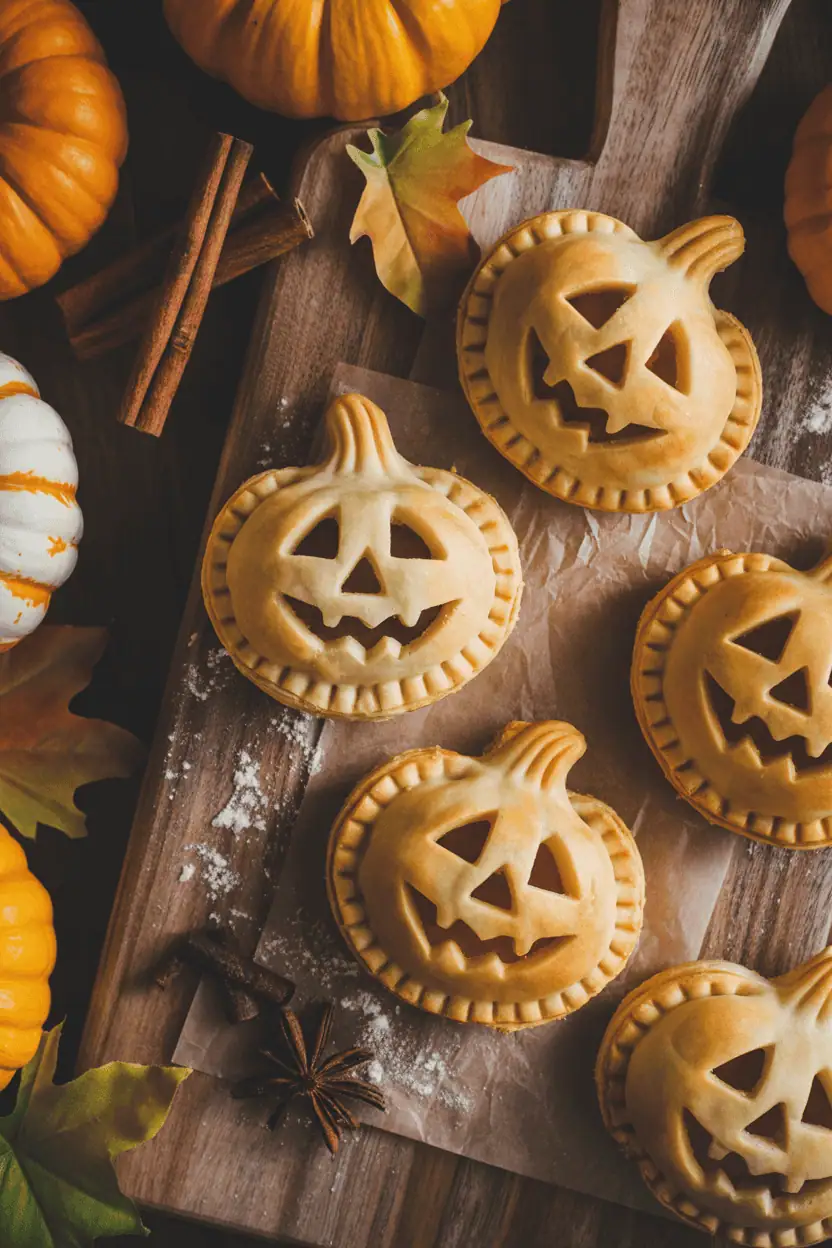
Festive Air Fryer Jack-O’-Lantern Hand Pies
Get ready to make the most adorable halloween treats that everyone will love! I’m excited to share this recipe with you. It combines all the best parts of spooky season.
These pumpkin-shaped pastries are perfect for adding festive fun to your kitchen. They’re great for Halloween parties or fun activities with kids. These crispy treats are the answer!
What’s special about these halloween treats? They’re crispy outside and warm inside with tasty flavors. Plus, your air fryer gives them a golden finish without oil or mess!
I love how easy these are to make. They’re perfect for adding spooky sweetness to your fall baking. Let’s start this fun Halloween journey together!
Why Air Fryer Jack-O’-Lantern Hand Pies Are Perfect for Halloween
These air fryer jack-o’-lantern hand pies are a hit for Halloween. They mix the cozy tastes of fall with Halloween fun. They make everyone happy, from kids to adults, perfect for Halloween parties.
The Appeal of Halloween Hand Pies
Pumpkin hand pies are magical and capture Halloween’s spirit. They’re like autumn in a bite. The jack-o’-lantern shape makes everyone smile.
Hand pies can be sweet or savory. They’re great for Halloween parties, school events, or family gatherings.
Benefits of Using an Air Fryer
Using an air fryer makes these treats amazing. You get a crispy outside without hot oil or mess. The air fryer cooks evenly every time.
Air fryers cook faster than ovens. This means more fun and less waiting. They’re also good for the environment and keep your kitchen cool.
Kid-Friendly Halloween Activity
This is a great way to bond with your family! Kids will love making the pumpkin shapes and faces. It’s a fun way to spend time together and make something tasty.
Kids can help with measuring and decorating. It’s fun, educational, and yummy!
Essential Ingredients for Your Jack-O’-Lantern Hand Pies
The magic of these festive air fryer recipes starts with quality ingredients. Having everything ready makes the process smoother and more fun. Let’s go over what you need to make these adorable Halloween treats.
Pastry Dough Options
You have great choices for your pastry base. Store-bought pie crust is perfect for busy days. It’s reliable and saves time.
Puff pastry adds extra flakiness that’s amazing. If you love baking, homemade pastry dough lets you control flavor and texture.
Filling Ingredients
The heart of your hand pies is pumpkin puree. Canned puree works great! Warm spices like cinnamon, nutmeg, and ginger create that autumn flavor. Brown sugar adds sweetness.
Vanilla extract adds depth, and cornstarch thickens. These ingredients come together to make something magical!
Decorating Supplies
For a golden finish, use an egg for egg wash. Coarse sugar adds sparkle. Black sesame seeds or mini chocolate chips make jack-o’-lantern faces.
Melted butter adds richness and helps with browning. Most ingredients are probably in your pantry. This makes the recipe easy for spontaneous Halloween baking!
Equipment and Tools You’ll Need
Let’s go over the key tools for a great halloween baking experience. You won’t need any special equipment. Most of what you need is probably in your kitchen already!
Air Fryer Requirements
Your air fryer is the main tool for these hand pies. Any air fryer will do the job well. You can use either a basket-style or oven-style model.
Preheat your air fryer before cooking. This step ensures even browning and crispy results every time.
Kitchen Tools and Accessories
You’ll need some basic kitchen tools for halloween baking. A rolling pin is key for dough. If you don’t have one, a clean wine bottle works too! Sharp knives are needed for cutting shapes.
Remember to use parchment paper in your air fryer basket. A pastry brush makes egg wash easy to apply. A fork is great for sealing edges and creating a crimped look.
Measuring cups and spoons are vital for accurate ingredient amounts. A small spoon is perfect for adding filling without mess.
Optional Decorating Tools
For decorating, small kitchen shears or a paring knife are useful for cutting jack-o’-lantern faces. Pumpkin-shaped cookie cutters add a nice touch, but round cutters work well too!
Small cookie cutters for facial features can make your hand pies look fantastic. These details really make your treats pop!
Preparing Your Pumpkin Filling
The heart of these festive pastries is the pumpkin filling. It brings autumn flavors to life! Making this filling just right makes your hand pies amazing. Let’s dive into the magic of making it!
Choosing the Right Pumpkin
Canned pumpkin puree is your best friend here! It’s easy, convenient, and always works. No fuss, just pure pumpkin goodness.
For fresh pumpkin, use sugar or pie pumpkins. They’re sweet and have the right texture. Avoid big carving pumpkins – they’re too watery and soggy!
Cooking and Seasoning the Filling
Now, let’s make those warm, cozy fall flavors! Mix your pumpkin puree with a special spice blend. I use cinnamon, nutmeg, ginger, and cloves.
Add brown sugar for sweetness and vanilla for depth. Don’t forget cornstarch for the right thickness. Mix well and let the flavors meld. It smells amazing!
Achieving the Perfect Consistency
The filling’s consistency is key for these festive pastries. It should be thick enough not to leak but not too thick.
If it’s too thin, add cornstarch. Too thick? A little milk or cream will fix it. The filling should taste like a perfect fall day!
Let it cool a bit before using. The flavors will concentrate during air frying. This filling makes your hand pies special and memorable!
Creating the Perfect Pastry Dough
Making flaky, tender pastry dough is key to amazing hand pies. The right dough technique can turn your baking into a hit. I’m excited to share tips that will make your baking a breeze!
Homemade vs Store-Bought Options
Both homemade and store-bought dough can make great hand pies. Store-bought refrigerated pie crust is perfect for quick baking. It’s reliable and always delivers great results.
Let your store-bought dough warm up for 10-15 minutes before rolling. This makes it easier to handle and prevents it from cracking. Homemade dough is simple: flour, cold butter, salt, and ice water.
The golden rule: don’t overwork your dough! Gentle handling is key to flaky layers that highlight your pumpkin filling.
Rolling and Handling Techniques
Work on a lightly floured surface and roll from the center outward. Keep your rolling pin moving and rotate the dough to prevent sticking. This ensures even thickness in your hand pies.
If your dough feels warm or sticky, chill it in the fridge for 10 minutes. Cold dough holds its shape better and creates flaky layers we all love!
| Dough Issue | Quick Fix | Prevention Tip |
|---|---|---|
| Too sticky | Add flour gradually | Keep ingredients cold |
| Cracking edges | Let warm 5 minutes | Don’t overwork dough |
| Shrinking shapes | Chill before cutting | Rest dough 30 minutes |
| Tough texture | Use less water next time | Handle gently |
Temperature Tips for Best Results
Cold dough is your best friend! Chill your dough for at least 30 minutes before rolling. This prevents shrinking and improves texture. If it warms up, chill it again.
When cutting pumpkin shapes, dip your cutter in flour to prevent sticking. Cut straight down without twisting for clean edges. Remember, pastry dough is forgiving – those little imperfections add homemade charm that everyone will love!
Shaping Your Air Fryer Jack-O’-Lantern Hand Pies
Now it’s time to make your Halloween hand pies come to life. You’ll be turning your pastry dough into cute jack-o’-lantern shapes. It’s a fun activity that everyone can enjoy together.
Cutting Pumpkin Shapes
Roll your dough to 1/8-inch thickness on a floured surface. This is just right – not too thin, not too thick. Pumpkin-shaped cookie cutters are perfect for this.
If you don’t have special cutters, no worries. You can use a paper template or go freehand for a unique look. Cutting circles and pinching the top creates a pumpkin stem. Remember to cut an even number of pieces for both tops and bottoms.
Filling and Sealing Techniques
Put about one tablespoon of pumpkin filling in the center of half your dough pieces. Leave a half-inch border around for sealing. Don’t overfill to avoid leaks during cooking.
Place the top piece over the filling and press the edges to seal. Use a fork to crimp the edges for a classic look and a tight seal. The crimped edges also add a nice touch.
Creating the Jack-O’-Lantern Face
This is the most fun part – adding a face to each hand pie. Use a small knife or kitchen shears to cut out triangle eyes and a zigzag or curved mouth. Keep the cuts small as they will open up a bit during cooking.
Be creative with the faces! You can make them happy, spooky, or surprised. The kids will love this part. Brush the tops with egg wash for a golden color and sprinkle coarse sugar for sparkle!
| Face Feature | Cutting Tool | Size Guide | Pro Tip |
|---|---|---|---|
| Triangle Eyes | Small sharp knife | 1/4 inch wide | Cut slightly smaller than desired |
| Zigzag Mouth | Kitchen shears | 1 inch long | Make shallow cuts first |
| Curved Smile | Paring knife | 3/4 inch wide | Use gentle sawing motion |
| Nose (optional) | Knife tip | 1/8 inch | Simple triangle shape works best |
Air Fryer Cooking Instructions
Are you ready to make your Halloween desserts crispy and golden? This is the moment you’ve been waiting for! I’m excited to help you through each step to make sure your jack-o’-lantern hand pies are perfect every time.
Preheating Your Air Fryer
Preheating is absolutely essential for perfect desserts. Set your air fryer to 375°F and let it preheat for 3-5 minutes. This ensures even cooking from the start.
While it’s preheating, line your air fryer basket with parchment paper. Make sure the paper has holes or cut some yourself for air circulation. This prevents sticking and makes cleanup easier!
Optimal Temperature and Timing
The magic number is 375°F – this is the perfect temperature for these treats. Cook your hand pies for 12-15 minutes. But here’s my secret: flip them halfway through! At the 6-7 minute mark, carefully turn each pie using tongs or a spatula.
Don’t overcrowd your basket! Work in batches if needed because proper air circulation is key for that perfect crispy texture we’re after.
| Cooking Stage | Temperature | Time | Action Required |
|---|---|---|---|
| Preheating | 375°F | 3-5 minutes | Line basket with parchment |
| First Side | 375°F | 6-7 minutes | Place pies in basket |
| Second Side | 375°F | 6-8 minutes | Flip carefully with tongs |
| Final Check | 375°F | 1-2 minutes | Add time if needed |
Checking for Doneness
Look for that gorgeous golden-brown color all over – they should look like perfect little autumn gems! The pastry should feel firm and crispy when you gently tap it, not soft or doughy.
The filling might bubble slightly through the face cuts, and that’s totally normal and actually looks quite charming! If they need more time, add 1-2 minutes, but keep a close eye on them.
Let your finished halloween desserts cool for just a few minutes before serving. The filling will be very hot initially, but trust me – the wait is worth it for that perfect first bite!
Decorating and Finishing Touches
Now it’s time to turn your air fryer hand pies into spooky treats! This is where your creativity really comes out. The right touches can make your pies go from good to amazing.
Egg Wash Application
To get that golden finish, start with an egg wash. Mix one whole egg with a tablespoon of milk or cream until it’s smooth. This will give your pies a glossy look that looks like it was made by a pro!
Use a pastry brush to apply the egg wash all over the top. Make sure to cover the edges too. For extra shine, sprinkle coarse sugar on the wet egg wash before frying.
Adding Spooky Details
Once your pies cool a bit, it’s time to decorate. Add fun touches to make those jack-o’-lantern faces stand out.

| Decoration Type | Materials Needed | Application Method | Visual Effect |
|---|---|---|---|
| Chocolate Details | Melted chocolate chips | Small dabs with toothpick | Bold, dramatic features |
| Sesame Seed Eyes | Black sesame seeds | Press gently while warm | Subtle, natural look |
| Sugar Dusting | Powdered sugar | Light dusting with sifter | Ghostly, ethereal appearance |
| Simple Glaze | Powdered sugar and milk | Drizzle with spoon | Sweet, glossy finish |
Final Presentation Tips
Place your hand pies on a festive Halloween platter for a big impact. Add autumn leaves or small pumpkins around the edges for more charm.
Serve them warm for the best taste. The smell alone will draw everyone in! Offer vanilla ice cream or whipped cream for dipping. These pies are sure to be the centerpiece of your Halloween dessert table!
Troubleshooting Common Issues
Let’s tackle the most frequent issues that pop up during fall baking projects like these festive hand pies! Even experienced bakers encounter these challenges sometimes. I want you to feel confident handling any little hiccups that might come your way.
Preventing Soggy Bottoms
This is probably the most common concern with hand pies, but it’s totally fixable! Make sure your filling isn’t too wet – if it seems runny, add a bit more cornstarch and let it thicken.
Don’t skip the parchment paper in your air fryer basket. Always flip the pies halfway through cooking for even browning. If you’re having issues, try these solutions:
- Reduce the filling amount slightly
- Cook for an extra minute or two
- Let the filling cool completely before assembling
Fixing Cracked or Broken Pies
This happens to the best of us! If your dough cracks while shaping, it’s usually because it’s too cold or too dry. Let it warm up for a few minutes at room temperature.
For small cracks, brush with a tiny bit of water and gently press back together. If a pie breaks during cooking, don’t panic – it’ll taste amazing! You can always call it “rustic” and serve it with a smile.
Adjusting Cooking Times
Remember that air fryers can vary quite a bit! If your pies are browning too quickly, reduce the temperature by 25°F and cook a bit longer.
If they’re not browning enough, increase the temperature slightly or add a few extra minutes. The key is to watch them closely.
Storage and Serving Suggestions
Knowing how to store and serve your halloween party food is key. It keeps your spooky treats fresh and looking great! Jack-o’-lantern hand pies are easy to store and present.
Proper Storage Methods
Keep your hand pies tasty for days with the right storage. Cool them down first, then put them in an airtight container. They’ll last up to 2 days at room temperature.
For longer storage, refrigerate them in a sealed container for up to 5 days. You can also freeze them for up to 3 months. Just wrap each pie in plastic wrap before freezing.
| Storage Method | Duration | Best For |
|---|---|---|
| Room Temperature | 2 days | Immediate serving |
| Refrigerated | 5 days | Weekly meal prep |
| Frozen | 3 months | Party planning ahead |
Reheating Instructions
The air fryer is perfect for reheating! Set it to 350°F for just 2-3 minutes. This brings back that crispy outside. You can also use a regular oven at 350°F for about 5 minutes.
Avoid the microwave – it’ll make your pies soggy and ruin their texture!
Creative Serving Ideas
These treats are great for many occasions! Serve them warm with vanilla ice cream for dessert. Or, pack them cool for lunch boxes and picnics.
Create a “build your own” station with toppings like caramel sauce, chocolate chips, or crushed cookies. They’re also perfect gifts when packed in cute boxes with ribbons for neighbors or teachers!
Air Fryer Jack-O’-Lantern Hand Pies
Festive Halloween Treats
Ingredients
- 2 sheets pie crust or puff pastry
- 1 cup pumpkin puree
- 1/4 cup brown sugar
- 1/2 tsp cinnamon
- 1/4 tsp nutmeg
- 1/4 tsp ginger
- 1/8 tsp cloves
- 1 tsp vanilla extract
- 1 tbsp cornstarch
- 1 egg (for egg wash)
- Coarse sugar (optional)
- Mini chocolate chips or sesame seeds (for faces)
Instructions
- Preheat air fryer to 375°F and line the basket with parchment.
- Mix pumpkin puree, sugar, spices, vanilla, and cornstarch.
- Roll out dough and cut pumpkin shapes. Use half for bottoms, half for tops.
- Add 1 tbsp filling to each bottom, top with a matching cut-out, seal and crimp edges.
- Cut faces into the tops, brush with egg wash, and sprinkle with sugar if using.
- Air fry in batches for 12–15 minutes, flipping halfway for even browning.
- Cool slightly before serving. Enjoy warm with ice cream or on their own!
Your Halloween Baking Success Story
What an incredible journey we’ve shared making these delightful Air Fryer Jack-O’-Lantern Hand Pies! I’m genuinely excited about how your crispy hand pies turned out. The golden, flaky exterior and warm, spiced pumpkin filling create Halloween magic in every bite.
These festive treats show that impressive holiday baking is easy. Your air fryer made them crispy on the outside and tender on the inside. The jack-o’-lantern faces add a playful touch that everyone loves.
I hope these hand pies become a cherished part of your Halloween traditions. They’re great for parties, trick-or-treat gatherings, or cozy family nights. You can customize them with different fillings, spice levels, or creative decorating ideas.
Your kitchen creativity has brought smiles and delicious memories to life. These crispy hand pies are more than a recipe. They’re little packages of joy that bring people together during this magical season. I’d love to hear about your baking adventure and see photos of your beautiful creations!

